Joe Corbi Pizza Cooking Instructions: A Comprehensive Guide
Unlocking delicious fundraising success! This guide provides detailed steps for crafting perfect Joe Corbi pizzas, popular in MD, DC, VA, DE, and PA.
Understanding the Joe Corbi Pizza Kit
Joe Corbi kits are a fundraising staple, delivering a convenient, enjoyable pizza-making experience. These kits, renowned in areas like Maryland and Washington D.C., contain pre-portioned ingredients for ease of use.
Understanding the kit’s components – dough, sauce, and cheese – is crucial.
Successful pizza creation hinges on recognizing the quality and quantity of each element provided within the kit itself.
Kit Contents and Initial Inspection
Upon receiving your Joe Corbi kit, carefully inventory all components. You should find pre-made dough, flavorful pizza sauce, and a generous portion of cheese.
Inspect the dough for proper sealing and freshness.
Ensure the sauce and cheese are cold to the touch, indicating proper preservation.
Any discrepancies should be noted before beginning preparation.
Preparing Your Work Surface
A clean and spacious area is crucial! Liberally flour your countertop or a large cutting board to prevent sticking during dough handling.
Ensure ample room for stretching and assembling your Joe Corbi pizza.
Have all your toppings prepped and within easy reach for efficient pizza creation.
A well-prepared surface streamlines the process!
Dough Preparation – The Core of Joe Corbi Pizza
The dough is the foundation of your masterpiece! Allow the frozen dough to thaw completely – this is vital for proper stretching.
Gently work the dough; TikTok videos showcase effective techniques for achieving optimal texture.
Avoid overworking, which can result in a tough crust.
Proper preparation ensures a delightful base for your Joe Corbi pizza.
Working the Dough: TikTok Techniques
Discover viral dough-handling secrets! TikTok demonstrates simple yet effective methods for stretching and shaping the Joe Corbi dough.
Many users recommend gentle pushing and rotating, avoiding a rolling pin.
These techniques aim to maintain air pockets for a light, airy crust.
Watch videos for visual guidance – work the dough for several minutes!
Dough Consistency and Thickness
Achieving the perfect base is key! Joe Corbi dough should be pliable, not overly sticky.
If it resists stretching, let it rest for a few more minutes;
Aim for a thickness of approximately ¼ to ½ inch – adjust to your preference.
Consistent thickness ensures even baking and a satisfyingly crisp crust throughout the entire pizza.
Sauce Application – Achieving the Right Balance
The sauce is the heart of flavor! Applying the sauce correctly is crucial for a delicious Joe Corbi pizza.
Avoid over-saucing, as this can lead to a soggy crust.
A thin, even layer is ideal, allowing the cheese and toppings to shine.
Remember, balance is key to a truly satisfying pizza experience.
Even Distribution of Sauce
Achieving sauce perfection starts with technique! Gently spread the sauce from the center outwards, using a circular motion.
Ensure complete coverage, reaching nearly to the edge of the dough, leaving a small border for the crust.
Avoid large globs or thin spots; consistency is vital for a balanced flavor in every bite.
Sauce Quantity Guidelines
Finding the sweet spot for sauce is key! Typically, one container of Joe Corbi sauce is sufficient for a single pizza kit.
However, adjust based on personal preference – more for a zestier flavor, less for a milder taste.
Overloading with sauce can lead to a soggy crust, so moderation is crucial for optimal texture and enjoyment.
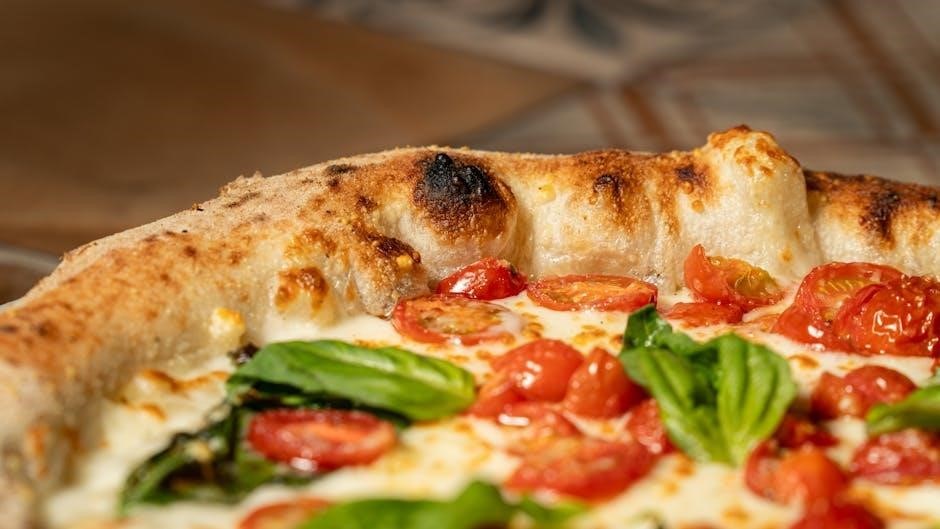
Cheese Layering – Maximizing Flavor
Cheese is paramount for a truly satisfying Joe Corbi pizza! Ensure even distribution across the sauced dough, reaching every edge for a cheesy bite in each slice.
Use the entire cheese package provided in the kit; don’t skimp!
A generous layer guarantees a gooey, flavorful experience, elevating your pizza to perfection.
Cheese Type and Quantity
Joe Corbi kits include a specifically blended mozzarella cheese designed for optimal melt and flavor.
The entire package should be used to achieve that classic, cheesy pull everyone loves.
Don’t substitute or reduce the quantity; it’s crucial for the authentic Joe Corbi experience.
This ensures a consistently delicious and satisfying pizza!
Ensuring Full Coverage
Distribute the mozzarella cheese evenly across the sauced dough, extending almost to the very edge.
Leaving a small border prevents overflow during baking and creates a delightful crispy crust.
Avoid large clumps; a consistent layer guarantees cheesy goodness in every single bite.
Full coverage maximizes flavor and prevents dry spots on your Joe Corbi pizza!
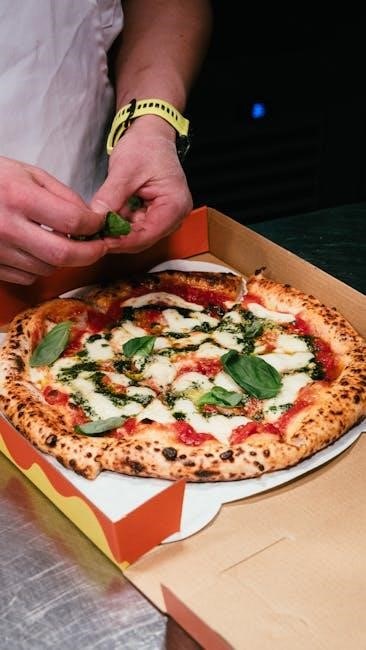
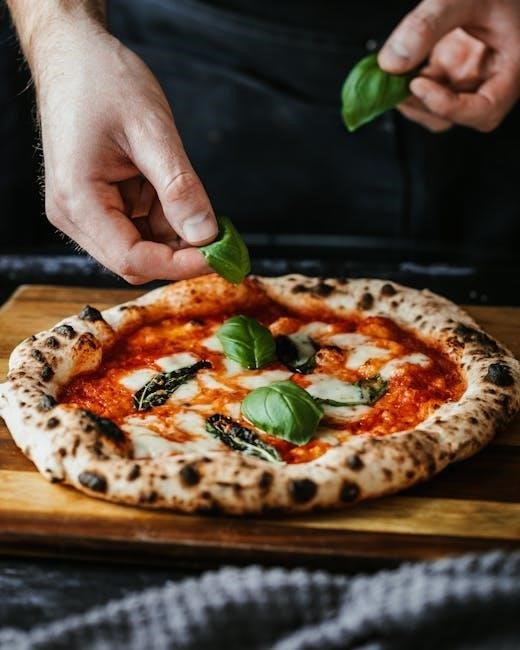
Topping Selection and Placement
Elevate your Joe Corbi pizza with thoughtfully chosen toppings!
Pepperoni, sausage, mushrooms, and onions are popular choices, but feel free to experiment.
Distribute toppings evenly across the cheese layer, avoiding large concentrations in one area.
Strategic placement ensures every slice boasts a balanced and flavorful experience, maximizing enjoyment.
Recommended Toppings
Classic choices truly shine on a Joe Corbi pizza!
Pepperoni remains a perennial favorite, alongside Italian sausage for a savory kick.
Mushrooms add an earthy depth, while onions provide a subtle sweetness.
Green peppers offer a crisp texture, and black olives contribute a briny flavor.
Don’t hesitate to combine these for a personalized masterpiece!
Topping Distribution Strategies
Strategic placement is key for a flavorful bite in every slice!
Start by creating a consistent layer, avoiding large clumps of any single topping.
Distribute toppings evenly towards the edges, ensuring full coverage.
Consider a spiral pattern for balanced flavor distribution.
Don’t overload – less is often more, preventing a soggy pizza.
Pan Preparation – Essential for a Crispy Crust
Proper pan prep guarantees a delightful crunch!
Joe Corbi pizzas benefit from a well-seasoned or coated pan.
Lightly grease the pan with cooking spray or oil to prevent sticking.
A dusting of cornmeal adds extra texture and aids release.
Ensure complete coverage, especially around the edges, for easy removal and a golden-brown crust.
Pan Type and Coating
Selecting the right pan is crucial for success!
A dark metal pizza pan distributes heat evenly, promoting a crispy base.
Non-stick pans are convenient, but may yield a less textured crust.
Coating options include cooking spray, olive oil, or a thin layer of butter.
Avoid heavy coatings, as they can lead to a soggy bottom.
Preventing Sticking
Ensuring easy pizza removal is key!
Thoroughly coat the pan with cooking spray or a light layer of olive oil.
Consider dusting the oiled pan with cornmeal for extra insurance against sticking.
Allow the pan to preheat slightly in the oven before placing the dough.
Don’t rush the cooling process; let the pizza settle before attempting to lift it.
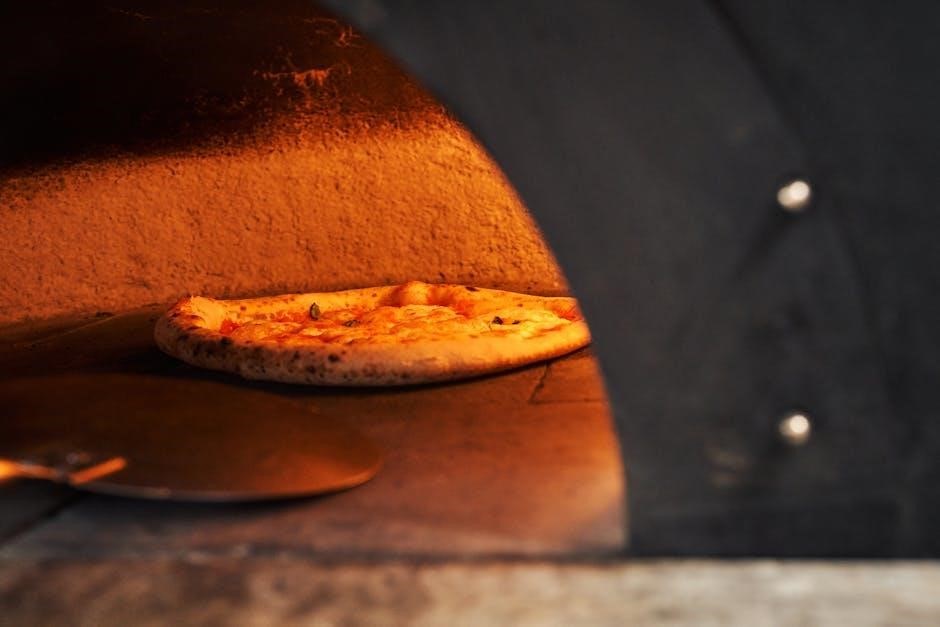
Oven Temperature and Baking Time
Achieving a golden-brown crust requires precision!
Preheat your oven to 375°F (190°C) for optimal baking.
Baking time typically ranges from 18 to 22 minutes, but varies.
Monitor closely, as oven temperatures can differ.
Adjust baking time based on your oven and desired crust crispness.
Consistent temperature is vital for even cooking.
Optimal Oven Temperature
Maintaining 375°F (190°C) is key for Joe Corbi pizza perfection!
This temperature ensures the dough cooks through while achieving a delightfully crispy crust.
Lower temperatures may result in a soggy base, while higher ones can burn the toppings.
Consistent heat distribution is crucial; avoid overcrowding the oven.
Preheating thoroughly guarantees even baking throughout the entire pizza.
Baking Time Variations
Typical baking time ranges from 18-22 minutes, but adjustments are often needed!
Thicker crusts or heavier toppings require extended baking – monitor closely.
Oven variations can impact cooking speed; check for doneness around 18 minutes.
Rotating the pizza halfway through ensures even heating and prevents burning.
Always prioritize visual cues over strict timing for optimal results.
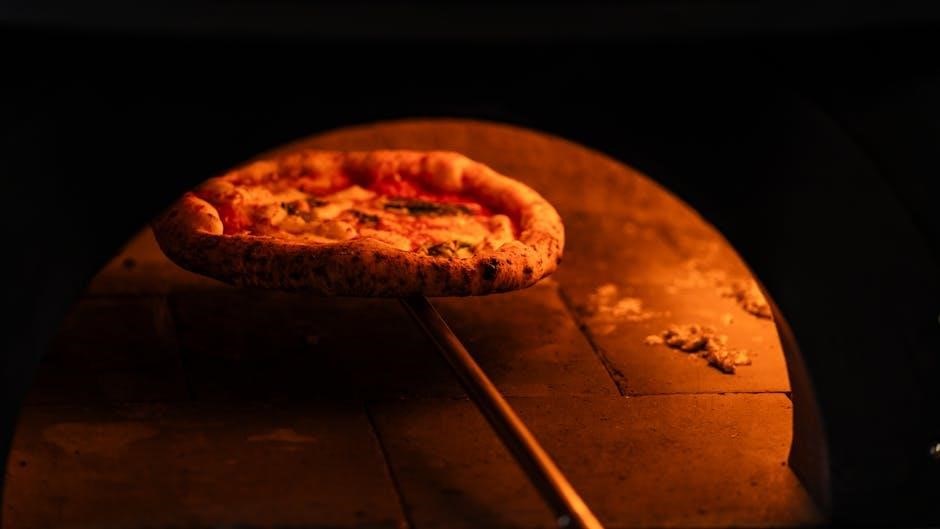
Baking Process – Monitoring for Perfection
Careful observation during baking is crucial for a fantastic Joe Corbi pizza!
Begin checking for doneness around the 18-minute mark, noting the crust’s golden-brown color.
The cheese should be melted and bubbly, with slight browning in spots.
Rotating the pizza halfway through ensures even cooking and prevents hot spots.
Trust your senses – a perfectly baked pizza will smell irresistible!
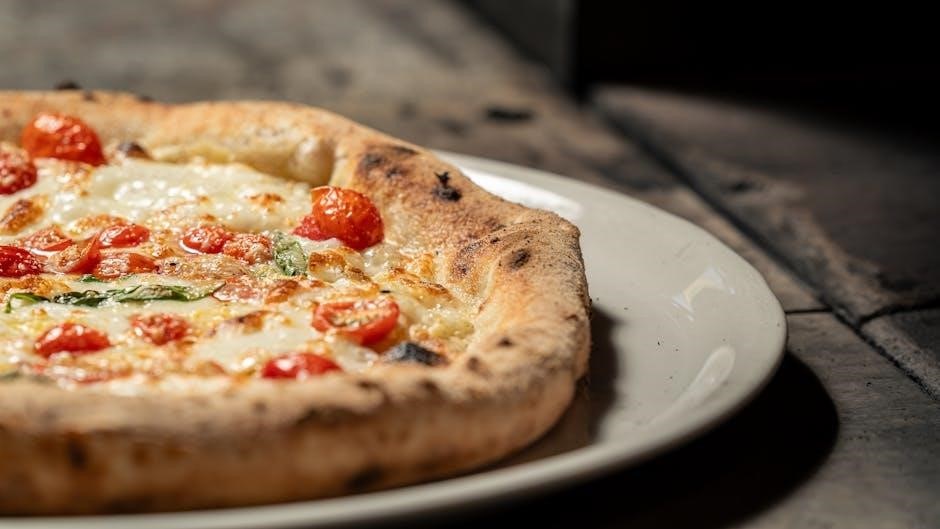
Checking for Doneness – Visual Cues
Visually assessing your Joe Corbi pizza is key to baking perfection!
Look for a golden-brown and crispy crust – this indicates sufficient heat penetration.
The cheese should be fully melted, bubbly, and exhibit some appealing browning.
If the toppings are sizzling and slightly caramelized, it’s a great sign.
Remember, a slightly darker crust often means a more flavorful pizza!
Rotating the Pizza for Even Cooking
Ensure a uniformly baked Joe Corbi pizza with strategic rotation!
Halfway through the baking process, gently rotate the pizza 180 degrees.
This compensates for potential hot spots within your oven, promoting even browning.
Consistent rotation guarantees a crispy crust across the entire surface.
Don’t hesitate to rotate again if unevenness persists – perfection is worth it!
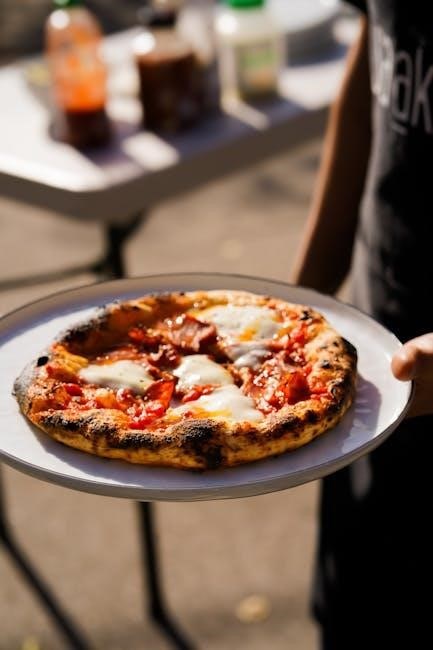
Cooling and Slicing – The Final Steps
Allow your freshly baked Joe Corbi pizza to cool adequately before slicing!
A 5-10 minute cooling period allows the cheese to set, preventing a messy slice.
Use a sharp pizza cutter or large knife for clean, precise cuts.
Rocking the cutter ensures minimal disruption to the toppings.
Enjoy the fruits of your labor – a delicious, perfectly sliced pizza!
Cooling Time Recommendations
For optimal slicing and enjoyment, allow your Joe Corbi pizza to cool for 5-10 minutes.
This brief rest period is crucial for the cheese to firm up, preventing it from sliding off during cutting.
Resist the urge to dive in immediately; patience yields cleaner slices and a more satisfying experience.
A slightly warm pizza is still delicious!
Slicing Techniques for Clean Cuts
Employ a sharp pizza cutter or large knife for precise slices.
Apply firm, even pressure and use a rocking motion, avoiding tearing the cheese or toppings.
Start from the center and slice outwards towards the crust.
For cleaner cuts, consider lightly greasing the blade.
Enjoy your perfectly portioned Joe Corbi pizza!
Troubleshooting Common Issues
Encountering problems?
Dough sticking? Ensure proper pan coating!
Uneven cooking often results from inconsistent oven temperature or failing to rotate the pizza during baking.
If the crust isn’t crispy enough, extend baking time slightly.
Remember, practice makes perfect with these fundraising favorites!
Dough Sticking to the Pan
Preventing a sticky situation!
Ensure your pan is thoroughly coated with oil or cooking spray before placing the dough.
A light dusting of cornmeal can also create a barrier.
If sticking occurs, gently use a spatula to loosen the edges before baking.
Don’t panic – a little patience prevents a pizza disaster!
Unevenly Cooked Pizza
Achieving consistent baking is key!
Rotate the pizza halfway through the baking time for even heat distribution.
Verify your oven temperature is accurate using an oven thermometer.
Ensure toppings aren’t piled excessively in one area, hindering even cooking.
A slightly longer baking time may resolve minor inconsistencies.
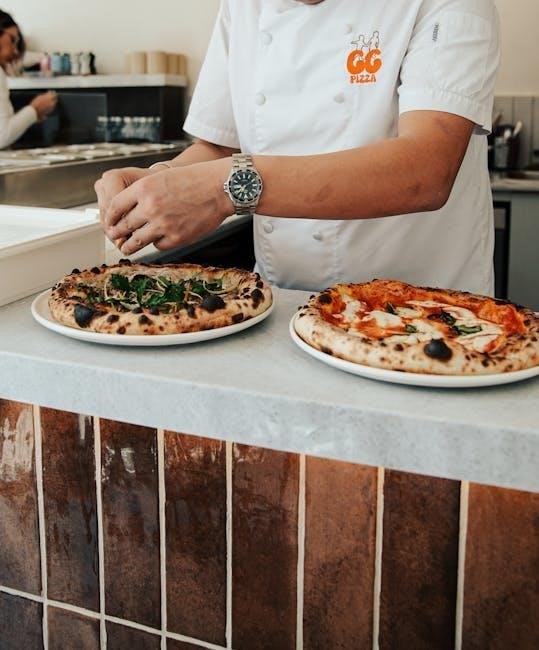
Joe Corbi Pizza Fundraising Context
A tradition of delicious fundraising!
Joe Corbi pizza kits have been a fundraising staple for decades, offering a tasty way to support various organizations.
Primarily serving Maryland, Washington D.C., Virginia, Delaware, and Pennsylvania, they provide a convenient and profitable option.
These kits empower groups to easily raise funds through the simple joy of pizza!
The History of Joe Corbi Fundraising
A legacy built on flavor and community!
Joe Corbi’s fundraising journey began with a simple idea: offer a high-quality, convenient pizza kit for groups to raise money.
Over the years, it evolved into a beloved tradition, supporting countless schools, sports teams, and organizations.
Its enduring popularity stems from delicious pizza and easy fundraising!
Geographic Availability – MD, DC, VA, DE, PA
Joe Corbi’s reach extends across the Mid-Atlantic!
Currently, these famous pizza fundraising kits are readily available in Maryland, Washington D.C., Virginia, Delaware, and Pennsylvania.
This focused distribution allows for efficient delivery and consistent product quality.
Organizations within these states can easily access a proven fundraising solution!
Nutritional Information (General Estimates)
Please note these are approximate values!
A single slice of Joe Corbi pizza generally contains around 300-350 calories, depending on toppings.
The ingredient breakdown includes carbohydrates, proteins, and fats from the dough, sauce, cheese, and selected toppings.
Exact figures will vary based on portion size and customization choices.
Calorie Count (Approximate)
Estimating energy content per slice is key!
A standard Joe Corbi pizza slice, without extra toppings, typically ranges from 280 to 360 calories.
Adding pepperoni or sausage can increase this to 400-450 calories per slice.
Consider portion control for a balanced diet while enjoying this fundraising favorite!
Ingredient Breakdown
Understanding what makes Joe Corbi special!
The kit includes dough, sauce, and cheese as core components.
Typical ingredients in the sauce are tomatoes, herbs, and spices.
Cheese is generally a mozzarella blend.
Additional toppings are user-selected, impacting the final nutritional profile.
Storage and Handling of Leftovers
Preserving pizza perfection!
Leftover Joe Corbi pizza should be stored in airtight containers within two hours of cooking.
Refrigeration maintains quality for up to three days.
Reheat slices in the oven or microwave, ensuring thorough warming.
Proper storage prevents bacterial growth and maintains optimal flavor.
Proper Storage Containers
Selecting the right containers is key!
Utilize airtight containers, such as plastic or glass food storage boxes, to prevent pizza from drying out.
Alternatively, tightly wrap leftover slices in plastic wrap, then aluminum foil.
These methods maintain freshness and prevent unwanted odors from affecting the pizza’s flavor.
Reheating Instructions
Revive your Joe Corbi pizza!
For best results, preheat your oven to 350°F (175°C).
Place slices on a baking sheet and reheat for 5-7 minutes.
Alternatively, use a skillet over medium heat for a crispy crust.
Microwaving is quickest, but may soften the crust – use with caution!
Variations and Customizations
Elevate your Joe Corbi experience!
Experiment with pesto or Alfredo sauce instead of traditional tomato.
Add roasted vegetables, pineapple, or different cheese blends for unique flavors.
Spicy lovers can incorporate jalapeños or red pepper flakes.
Don’t be afraid to get creative with toppings – the possibilities are endless!
Experimenting with Different Sauces
Beyond the classic tomato!
Explore pesto for a vibrant, herbaceous base, or Alfredo for a creamy indulgence.
A spicy marinara adds a kick, while BBQ sauce creates a unique flavor profile.
Consider a garlic-infused olive oil for a lighter option.
Remember to adjust toppings to complement your chosen sauce!
Adding Unique Topping Combinations
Elevate your Joe Corbi creation!
Try pineapple and jalapeño for sweet heat, or spinach and feta for a Mediterranean twist.
Bacon and caramelized onions offer savory delight, while mushroom and truffle oil provide earthy richness.
Don’t forget pepperoni and hot honey for a spicy-sweet sensation!
Get creative and personalize your pizza!